Vidlark
Use Your iPhone as a Webcam for YouTube Videos
Two ways to film YouTube videos with your iPhone as your Mac's camera: Continuity Camera, or Wi-Fi and a QR code with any Apple Account. Setup and framing tips.
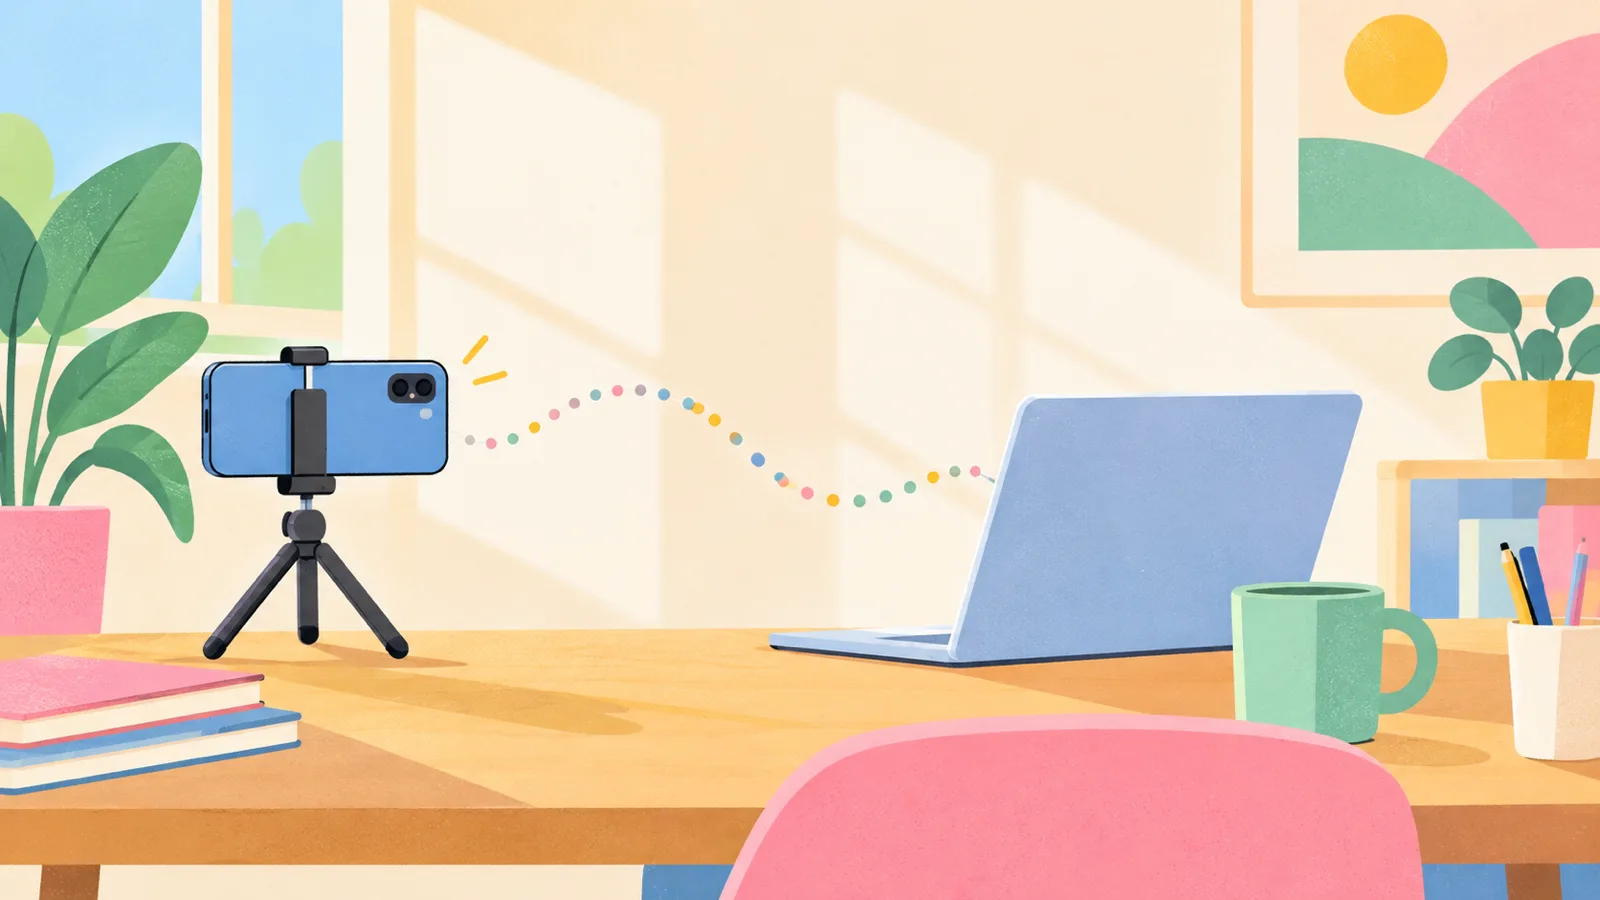
You can use your iPhone as a webcam for YouTube videos in two ways. If the iPhone and the Mac share an Apple Account, Apple's Continuity Camera connects them in seconds with no app. If they do not, a recorder like Vidlark can use the iPhone over Wi-Fi with a QR code, with any account and no app. Either way, mount the phone sideways at eye level with its back camera facing you, and plug it in.
Why an iPhone beats a laptop webcam
A laptop webcam is a tiny sensor behind a thin lid. It struggles in normal room light, so the picture gets grainy and soft, and it sits below your eyes, so viewers look up your nose.
An iPhone's back camera has a much bigger sensor and better lens. You also get to place it: at eye level, a little further away, where the framing looks deliberate. For YouTube, where your face is the first thing viewers judge, it is the cheapest big upgrade you can make if you already own one.
Two ways to connect
| Continuity Camera | Wi-Fi with a QR code (Vidlark) | |
|---|---|---|
| Apple Account | Must be the same on both | Any, including someone else's |
| iPhone needed | XR or later, iOS 16 or later | iOS 16.4 or newer (Android works too) |
| App on the phone | None | None, it runs in Safari |
| Works in | Any Mac app: Zoom, FaceTime, recorders | Vidlark only |
| Picture | Apple's best | Up to 1080p at 30 frames a second |
If your iPhone and Mac share an account, start with Continuity Camera. If not, or you want several phones as extra angles, use the Wi-Fi way.
Continuity Camera step by step
Apple's Continuity Camera page lists what you need: an iPhone XR or later on iOS 16 or later, a Mac on macOS Ventura 13 or later, both signed in to the same Apple Account with two-factor authentication, near each other with Bluetooth and Wi-Fi on, and the iPhone not sharing its mobile connection (nor the Mac its internet).
- On the iPhone, open Settings, General, AirPlay & Continuity (AirPlay & Handoff on older iPhones), and switch on Continuity Camera.
- Put the iPhone in a stand or on a tripod, sideways, with its back cameras facing you, and lock its screen.
- Open your recording app. The iPhone shows up as a camera, with a name like "Alex's iPhone Camera". In Vidlark, click the Camera row in the Sources list and pick it.
- For a long take, plug the iPhone into the Mac with its cable. It charges, and the picture stays steady.
Vidlark's Settings, Connect a camera, has the same steps and lists every camera the Mac can see right now, which helps when the iPhone does not appear.
Not on the same Apple Account? The QR code way
This is common: a family member's iPhone, a work Mac, or a phone on a parent's account. Continuity Camera refuses all of these. Vidlark's own studio hit exactly this problem, with the Mac on one person's account and the iPhone on another's, which is why it can use a phone over Wi-Fi.
Before you start: Vidlark is free and open source, but on a Mac there is no download button yet. You build it once with Xcode and add a free Apple Development certificate. It needs Apple silicon and macOS 15 or later (on an Intel Mac, free Mac screen recorders with no watermark lists what runs on one). See the install guide.
- Put both on the same Wi-Fi. The phone and the Mac must be on the same network.
- Show the code. Click the Camera row and pick Phone over Wi-Fi to make the phone your main camera. (To add it as an extra angle instead, press + Add, then Add a phone with a QR code.)
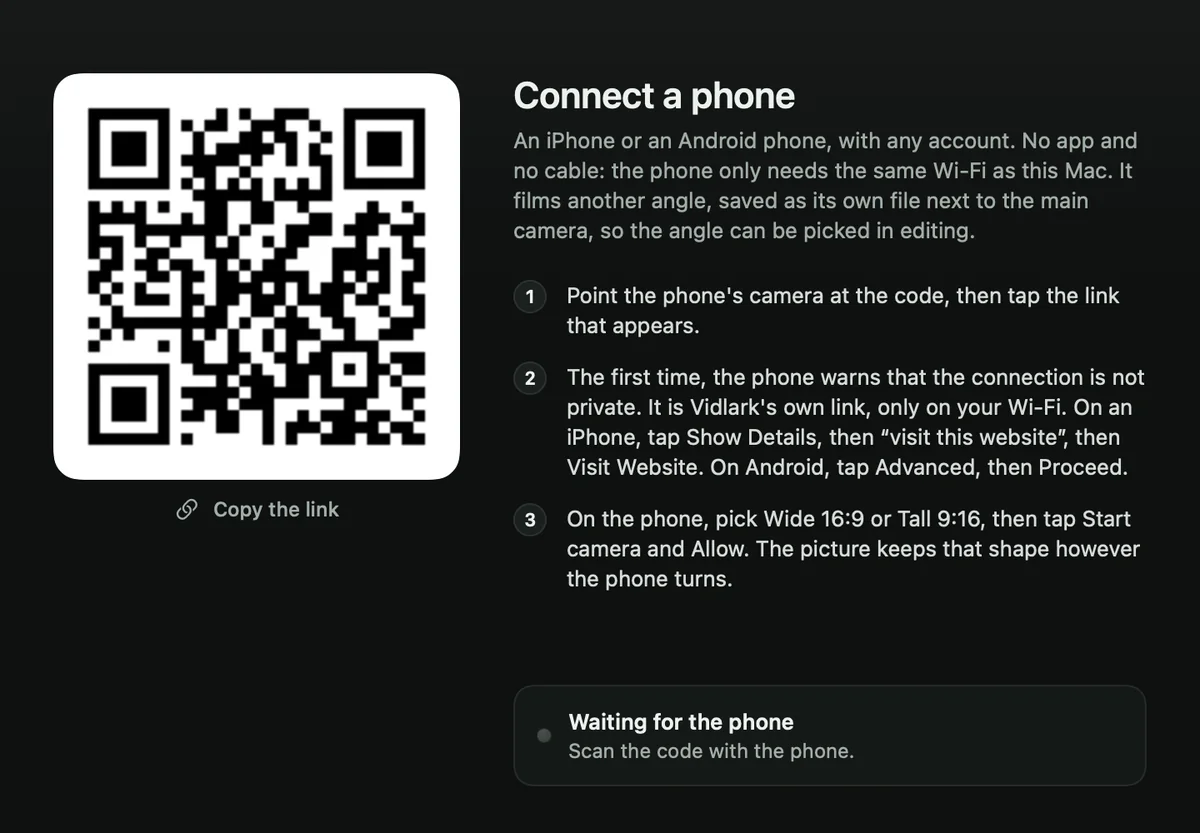
- Scan it with the iPhone's Camera app and tap the link that appears.
- Get past the one-time warning. The phone says the connection is not private. Tap Show Details, then visit this website, then Visit Website. (Why this happens is explained below.)
- Pick the shape. Wide 16:9 is for YouTube; Tall 9:16 is for Shorts and Reels. The picture keeps that shape however the phone turns.
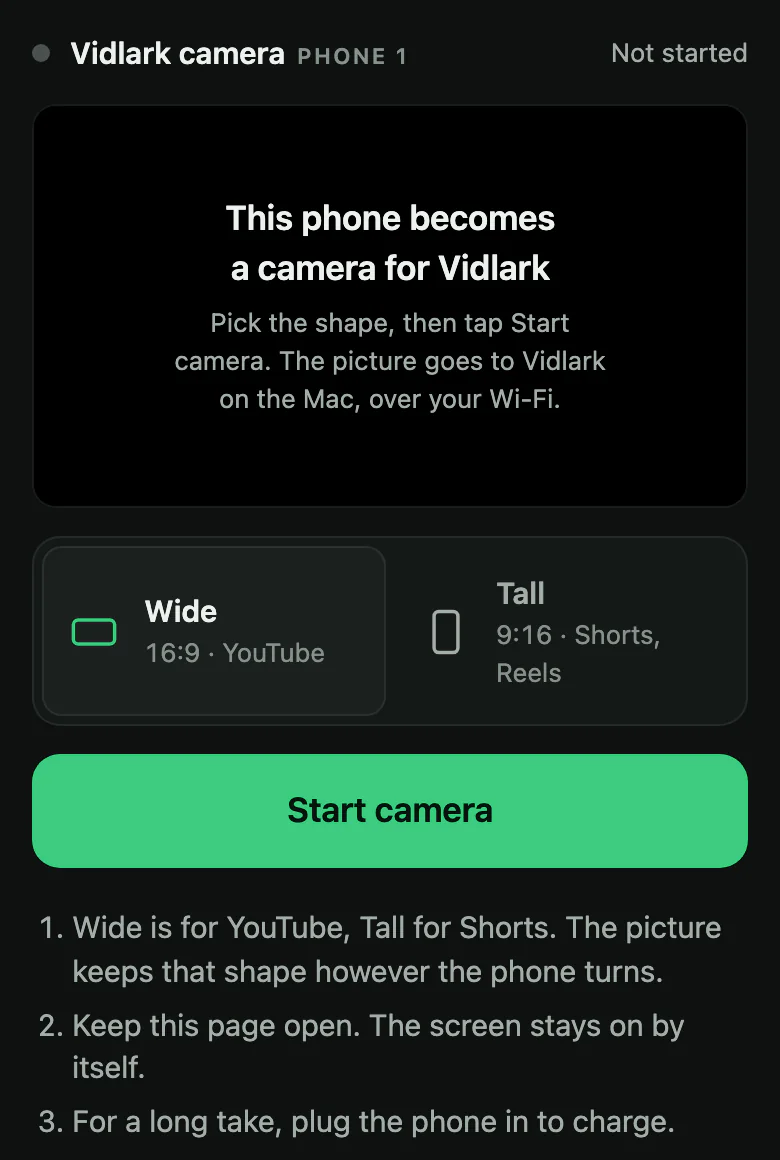
- Tap Start camera, then Allow. The Mac says Connected. Press Done.
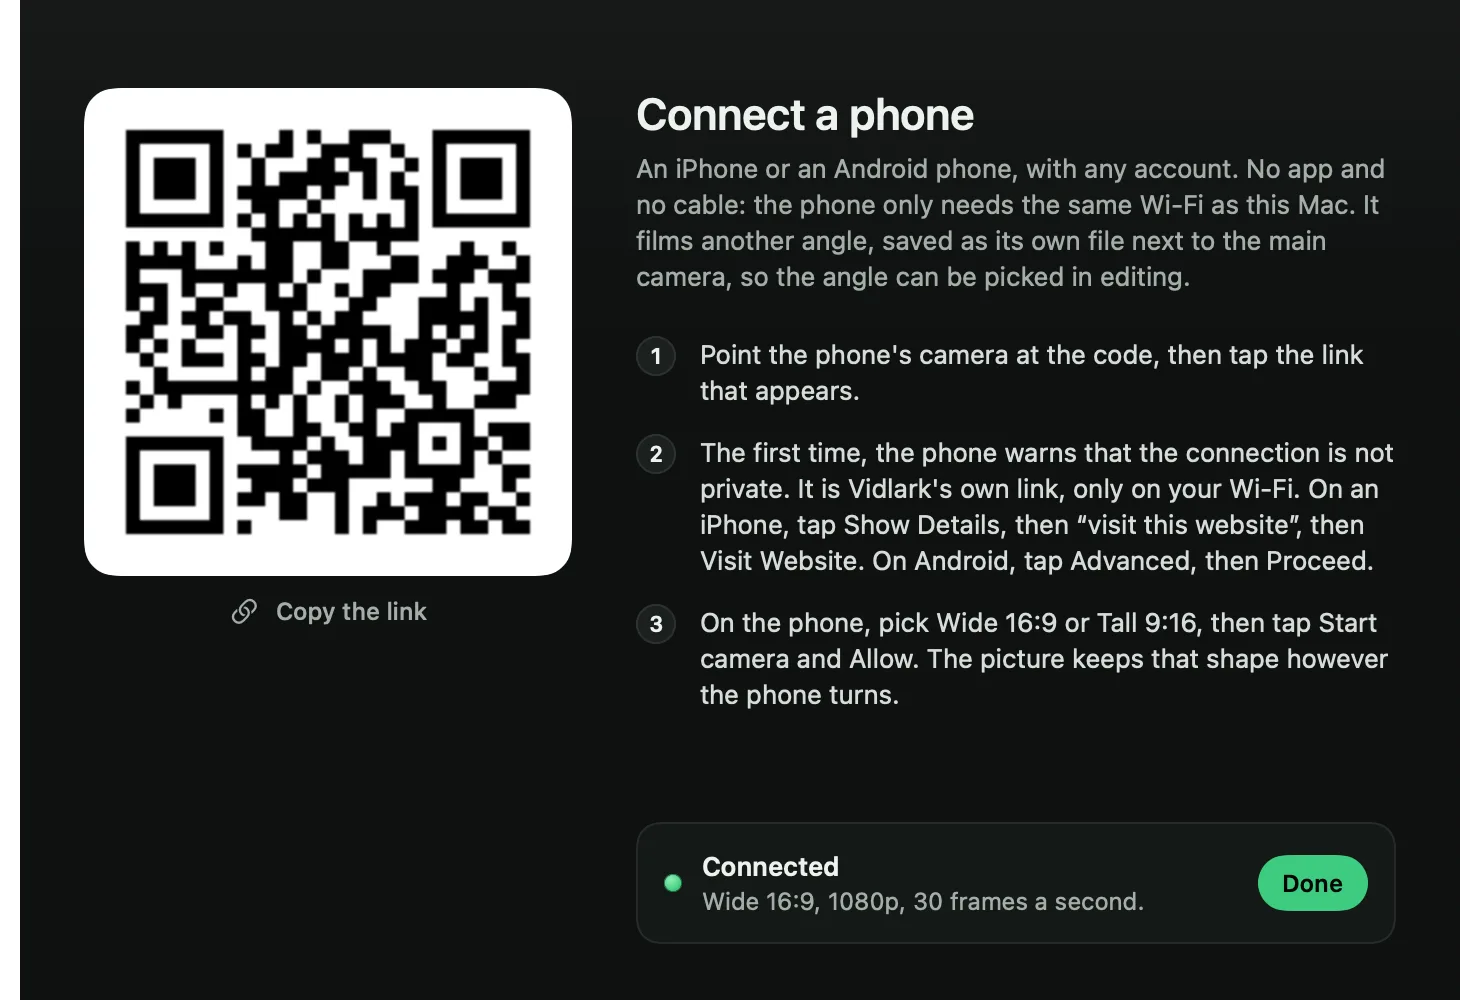
Keep the page open on the phone during the take; its screen stays on by itself. The page starts with the back camera, and it has a switch for the front camera if you need it.
Why the warning? Phone browsers only let a web page use the camera over a secure, encrypted connection. Vidlark makes its own certificate on your Mac for that connection, and since no public authority has vouched for it, the phone warns you once. The link only works on your own Wi-Fi, and nothing goes through the internet.
The honest limit: a phone connected this way is a camera inside Vidlark only. It does not become a system webcam for Zoom or FaceTime. If you need that with a phone on a different account, an app such as Camo (an app on the phone plus Camo Studio on the Mac; its free tier goes up to 720p) does it.
Mounting, framing and light
- Lens at eye level. The back camera lens, not the middle of the phone, should be level with your eyes. A cheap phone clamp on a tripod or a stack of books does it.
- Sideways for YouTube. Landscape fills a 16:9 video. Pick Tall 9:16 only when you are filming Shorts.
- Leave some space above your head, and frame from mid-chest up for a talking video.
- Light in front of you. Face a window or put a lamp behind the phone. A bright window behind you turns you into a silhouette.
- See yourself on the Mac. With the back camera facing you, you cannot see the phone's screen. Vidlark shows the phone's picture in its main window, so you frame the shot from the Mac.
Recording the phone, the screen and your mic together
A typical YouTube tutorial is your face, then your screen, then your face again. With the iPhone as Vidlark's main camera:
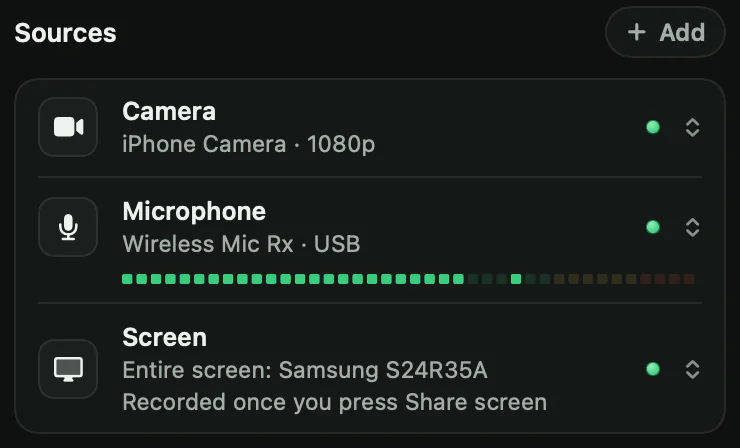
- Check the Sources list: Camera (the iPhone), Microphone and Screen, each with a green lamp.
- Press the red button. After the 3, 2, 1, you are recording your face from the iPhone.
- Press Share screen when you reach the demo, and switch with Me and Screen in the recording box.
- Press stop. Vidlark makes
video.mp4and keeps the camera incamera.mov.
Use a real mic, not the phone's. An iPhone can be the Mac's mic through Continuity (System Settings, Sound, Input), but a phone a metre away sounds like a phone a metre away. A USB mic or a clip-on wireless kit near your mouth sounds far better. Vidlark records the Mac's mic with the iPhone's picture, which is also how it keeps them in sync.
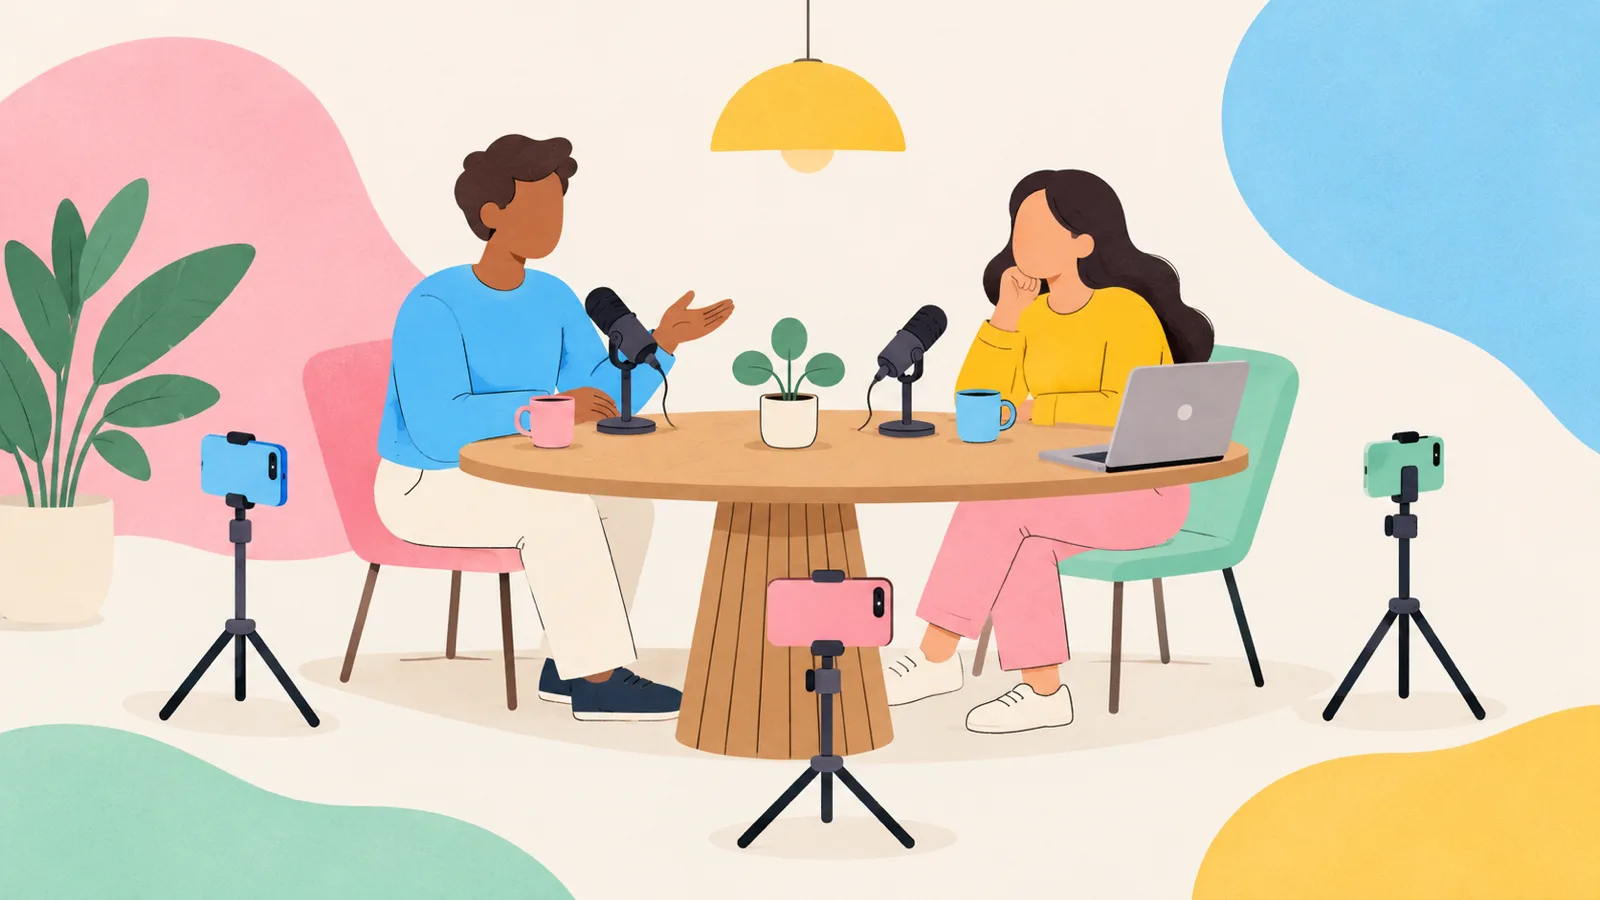
Add a second iPhone as another angle. Press + Add, Add a phone with a QR code. It records its own file, camera-2.mov, lined up with the main camera by sound. Up to four phones can film at once: our guide to recording a video podcast in one room with phones uses three.
For the whole process from script to upload, see How to record a YouTube video on a Mac.
Battery, heat and long takes
- Plug it in. Filming drains a phone fast. For Continuity, use the cable to the Mac; for Wi-Fi, any charger.
- Watch the heat. A phone filming, charging and sending video for a long time gets warm. A case that traps heat makes it worse, and a hot phone may dim its screen or slow down.
- Do a 30 second test take before a long one, and play it back.
- Phones waiting as extra angles rest. In Vidlark, a phone filming another angle shows its picture on its own screen between takes but sends nothing to the Mac until a take starts, which saves its battery.
Studio Light, Portrait and Center Stage: what to switch off
macOS adds video effects to iPhone and Mac cameras. On macOS Sonoma or later, Apple puts them in the Video menu in the menu bar; in Vidlark, Settings, Camera effects shows them and opens the panel that switches them.
- Studio Light brightens your face and dims the background a little, like a soft lamp. Many people like it on.
- Portrait blurs the background. Fine for a talking head; turn it off if you hold up products, as edges can blur.
- Center Stage moves and zooms the picture to keep you in the middle. For YouTube it is usually best off: it drifts while you talk with your hands, and the constant small moves look unsettled.
Vidlark also has its own framing. When the finished video shows your camera across the whole screen, the picture follows your face like a camera operator would: still while you talk, a smooth glide when you move. It is on by default, in Settings, In the video.
What to do next
If your iPhone and Mac share an account, try Continuity Camera today; it takes two minutes. If they do not, or you want more angles, try Vidlark free: the phone camera steps have a picture of each screen, and the code is on GitHub.
Want your face and screen in one take? How to record yourself and your screen on a Mac compares three free ways. Filming lessons for a course? How to record online course videos at home shows how to set up once and record a batch of lessons.
Questions
What do I need to use my iPhone as a webcam on a Mac?
For Apple's Continuity Camera: an iPhone XR or later on iOS 16 or later, a Mac on macOS Ventura or later, both signed in to the same Apple Account with two-factor authentication, near each other with Wi-Fi and Bluetooth on.
Can I use an iPhone on a different Apple Account as my Mac's camera?
Not with Continuity Camera. Vidlark can use any iPhone on iOS 16.4 or newer over Wi-Fi with a QR code, whatever account it is on, but only for recording inside Vidlark.
Should I use the iPhone's front or back camera?
The back camera is sharper. Mount the phone sideways with the back camera facing you. In Vidlark you can see the phone's picture on the Mac, so you do not need the phone's screen to frame yourself.
Should I turn Center Stage on?
Usually not for YouTube. Center Stage moves and zooms the picture to keep you in the middle, and it can drift while you talk with your hands.