Vidlark
How to Record a YouTube Video on a Mac
The whole path from script to upload on a Mac, with free tools: plan, light, record your face and screen, fix mistakes, add chapters and publish to YouTube.
To record a YouTube video on a Mac, write a short script, set up a light and a mic in front of you, record your face and your screen in one take, then upload the file with a title, description and chapters. Every step can be done with free software: QuickTime and iMovie come with your Mac, and free recorders like Vidlark add a prompter, a finished video and ready-made chapters.
Here is the whole path, step by step, with the free option for each stage.
What you need, and what you do not
You need:
- A Mac. Any recent one can record. Vidlark needs Apple silicon (M1 or newer) and macOS 15 or later.
- A camera. The built-in camera works. An iPhone is a big step up and costs nothing if you already own one: see Use your iPhone as a webcam for YouTube videos.
- A microphone close to your mouth. This matters more than the camera. Viewers forgive a soft picture; they leave over bad sound. A USB mic or a wireless clip-on kit is the best money you can spend. A spare phone can work as a wireless mic in Vidlark too. Our guide to recording a video podcast in one room with phones shows spare phones used as cameras and mics.
- Light in front of you. A window you face, or one lamp behind the laptop.
- Free disk space. A 15 minute take in Vidlark needs about 3 GB, plus about 0.5 GB for the finished video.
You do not need: a mirrorless camera, a green screen, a paid editor, or a subscription. Start with what you have and upgrade the mic first.
Plan: one outcome, a short script
Pick one thing the viewer should be able to do or understand by the end. "How to fix a suppressed listing" is a video. "Everything about selling online" is a series.
Then write a short script. You do not have to read every word. A good pattern:
- The hook, word for word. The first 15 to 30 seconds decide whether people stay, so write it out and rehearse it.
- The rest as bullets. One bullet per point. You talk around each one in your own words, which sounds far more natural than reading.
Vidlark reads scripts as plain text files (.md or .txt) in this shape:
# How to fix a suppressed listing
Target: 10 min

## Hook
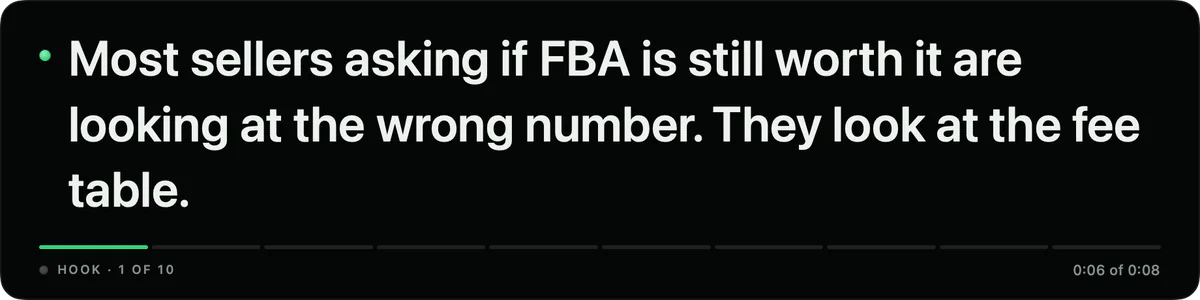
Written out word for word. It shows a short piece at a time.

## Find the reason
- Where the message hides
- The three usual causes
The # line names the video and its folder. Target: sets the length you aim for, and the timer shows your time against it. Each ## section becomes a chapter. Plain paragraphs are read word for word; bullets are talked around.
Set up: light, camera, mic
- Camera at eye level. Stack books under the laptop or use a stand. Looking down into a camera is the most common beginner mistake.
- Light on your face. Face the window, or put a lamp behind the laptop. Avoid a bright window behind you.
- Mic close. A clip-on mic on your shirt, or a USB mic just out of the shot.
- Quiet the Mac. Close chat apps and turn on a Focus mode, so nothing pings mid-sentence.
- Plug in the charger. Low Power Mode, which can switch on by itself on battery, can make the camera freeze once you share the screen.
In Vidlark, the Sources list shows your camera, mic and screen with a lamp each: green means ready. Say a few words and the mic meter should move. Settings, Camera effects shows Apple's Studio Light, Portrait and Center Stage; Center Stage can drift while you talk with your hands, so it is usually best off.
Installing Vidlark: there is no download button for Mac yet. You build it once on your own Mac from its free code, using Xcode, and add a free Apple Development certificate so it can record the screen. The install guide and certificate steps walk through every click.
Record: camera first, screen when you need it
Most YouTube tutorials open on the presenter's face, move to the screen for the demo, and come back to the face to close. Vidlark is built around that pattern.
- Add your script. Drag the script file onto the Vidlark window, or click the title at the top left and pick Add script file or Paste script.
- Switch on the prompter if you want it: Settings, Prompter and remote, Show the prompter during takes. It sits in a strip at the top of the screen that is never recorded. Drag it close to the camera so your eyes stay near the lens. My voice moves it on as you finish each line; the key under Esc works too.
- Press the red button. It counts down 3, 2, 1 with beeps. Start talking at the higher beep. The count is not recorded.
- Do your intro to camera. Every take starts on your face.
- Press Share screen when you reach the demo. Pick Entire screen or A window, then Share. The window shrinks to a small recording box that is never in the video.
- Switch with Me and Screen. Me fills the video with your camera; Screen goes back to the screen. The finished video follows your clicks, so there is nothing to cut.
- Press the red square to stop.
The free built-in alternative: QuickTime's camera window floated over a screen recording. It works, but your face is baked into the picture. Our guide to recording yourself and your screen on a Mac compares the two ways step by step.
Fix mistakes without stopping
Stopping and restarting breaks your energy. Keep going instead.
- In Vidlark: say "retake" out loud, pause, and say the line again. The take keeps going. After you stop,
retakes.jsonlists the time of every retake, so you can jump straight to them when you edit. (This uses the transcript, which needs Vidlark's free speech model, about 550 MB, downloaded once.) - In any recorder: stop talking for three seconds before you repeat a line. The silence shows up as a flat gap in the sound wave in your editor, which makes the mistake easy to find.
After stop: video.mp4, chapters and transcript
When you press stop, Vidlark finishes the take. It lines up the camera and screen files by their sound, makes the finished video and writes the transcript, saying each step as it goes. After a long take this takes a minute or two.
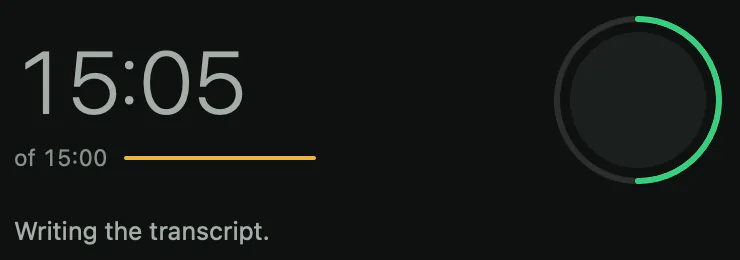
Then it says Saved and finished. Click Open folder. The files you will use:
| File | What it is for |
|---|---|
video.mp4 | The finished video. Upload this one. |
chapters.txt | YouTube chapters, ready to paste into the description. |
words.json | The transcript, with the time of every word. |
retakes.json | Every place you said "retake". |
camera.mov, screen.mov | The raw camera and screen, if you want to edit. |
Chapters come from your script's ## sections and the apps you switched to, not from speech. YouTube needs at least three chapters, so chapters.txt stays empty if a take has fewer than three of at least 10 seconds.
If you want to trim: iMovie is free on every Mac. Drag in video.mp4, cut the start, the end and each retake (using the times in retakes.json), then share it as a file. Many short videos need no edit at all.
Upload: title, description, chapters
- Open YouTube Studio and click Create, then Upload videos. Drag in
video.mp4. - Title: say the outcome in plain words, the way someone would search for it.
- Description: two or three sentences on what the video covers, then paste
chapters.txt. The rules for chapters to show up: the first timestamp is 0:00, there are at least three, and each one is at least 10 seconds long. - Thumbnail: a clear face and three or four big words beat a busy screenshot.
- Pick the visibility and publish, or schedule it.
Vidlark's finished video is an HEVC (H.265) .mp4 in the shape of your screen, up to 1920 pixels wide, and YouTube's help pages list HEVC among the formats it accepts. A MacBook screen is a little taller than 16:9, so a screen recorded on one shows thin bars at the sides in YouTube's player. Recording on a 16:9 external display avoids them.
Your second video, faster
The first video takes the longest because you are setting up. After that:
- Leave the setup where it is. Same light, same camera height, same mic. Mark the spots with tape.
- Batch your scripts. Drag several scripts onto Vidlark at once and they become a list for the day. After each take, Next video loads the next one you have not filmed. Our guide to recording online course videos at home shows a full batch day.
- Your choices are remembered. Vidlark keeps your last screen or window pick, your face shape and your settings.
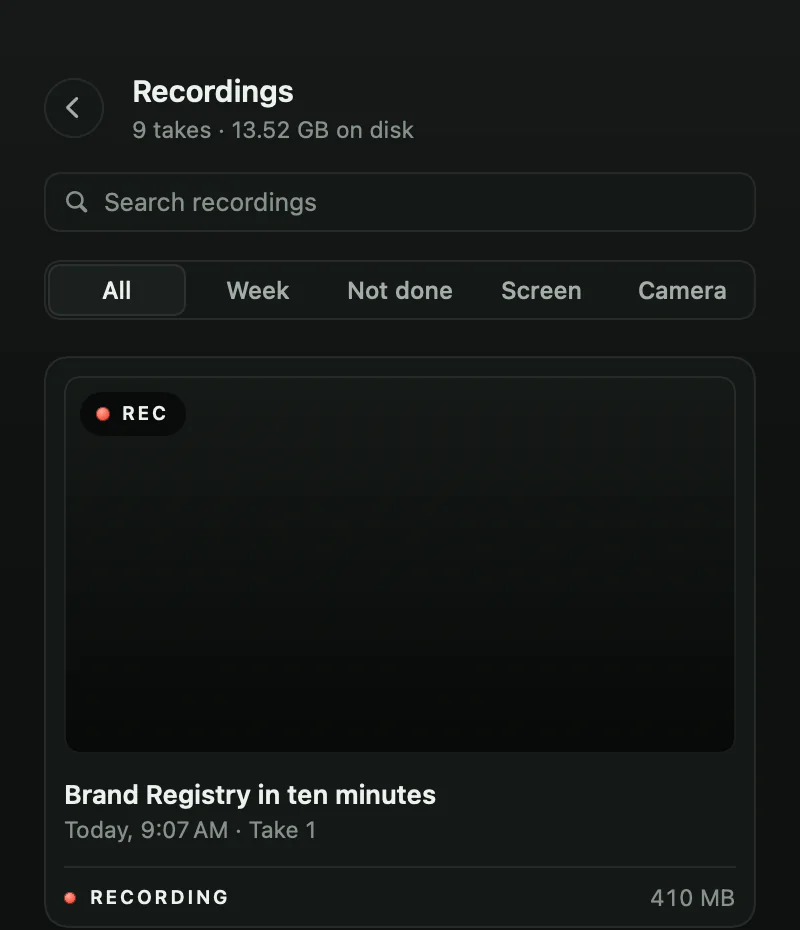
- Find old takes fast. The Recordings page (Command-Shift-R) shows every take with a picture, its length and size. Search by name or filter to This week.
What to do next
Write a three-bullet script for a five minute video and record it today, with whatever camera you have. The second one will be better.
To try Vidlark free, follow the step-by-step guide; the code is on GitHub. Still choosing a recorder? Free Mac screen recorders with no watermark compares the options, including what each one does better than Vidlark. Coming from Loom? Loom free plan limits in 2026, checked shows why its 5 minute cap rarely fits a YouTube video.
Questions
What is the best free way to record a YouTube video on a Mac?
For a single clip, QuickTime Player is already on your Mac. For regular videos with your face and screen, a free recorder such as Vidlark, OBS or Cap saves time, because each keeps the camera and screen separate and records the Mac's sound.
How much disk space does a YouTube recording need?
In Vidlark, a 15 minute take needs about 3 GB for the camera and screen files, plus about 0.5 GB for the finished video. Other apps vary with their settings.
How do I add chapters to a YouTube video?
Paste a list of timestamps and titles into the video's description. The first must be 0:00, you need at least three, and each chapter must be at least 10 seconds long.
Do I need to edit my video before uploading?
Not always. If your recorder makes a finished file that follows your switches between face and screen, a short video can go straight to YouTube. Longer videos usually need a trim at the start, the end and any retakes.