Vidlark
How to Record Online Course Videos at Home
A repeatable home setup for recording course lessons in batches: plan short lessons, script each one, record a day's list, and upload in your platform's format.
To record online course videos at home, plan the course as a list of short lessons, build one setup you never move, write a short script for each lesson, and record a batch of them in one sitting. Then export each lesson as an MP4 that matches your course platform's limits. With a free recorder that loads your scripts as a list for the day, eight lessons in an afternoon is realistic.
This guide is the workflow, from lesson list to upload, with the platform limits checked on 9 October 2026.
Plan the course as a list of short lessons
Students finish short lessons. You can also re-record a short lesson in ten minutes when something changes, instead of redoing a 45 minute monster.
- Write the outcome of the whole course in one sentence: what the student can do at the end.
- List the lessons. Each lesson teaches one thing. If a lesson title has "and" in it, it is probably two lessons.
- Give each lesson a target length. Most land between 5 and 15 minutes.
- Mark each lesson's type: talking head (you explaining), screen (you showing), or both.
Udemy, for one, needs at least 30 minutes of video before it publishes a course, so check your platform's minimum while you plan.
One setup you never move
Consistency is what makes a course look professional. Students notice when the light, the framing or the sound changes from lesson to lesson.
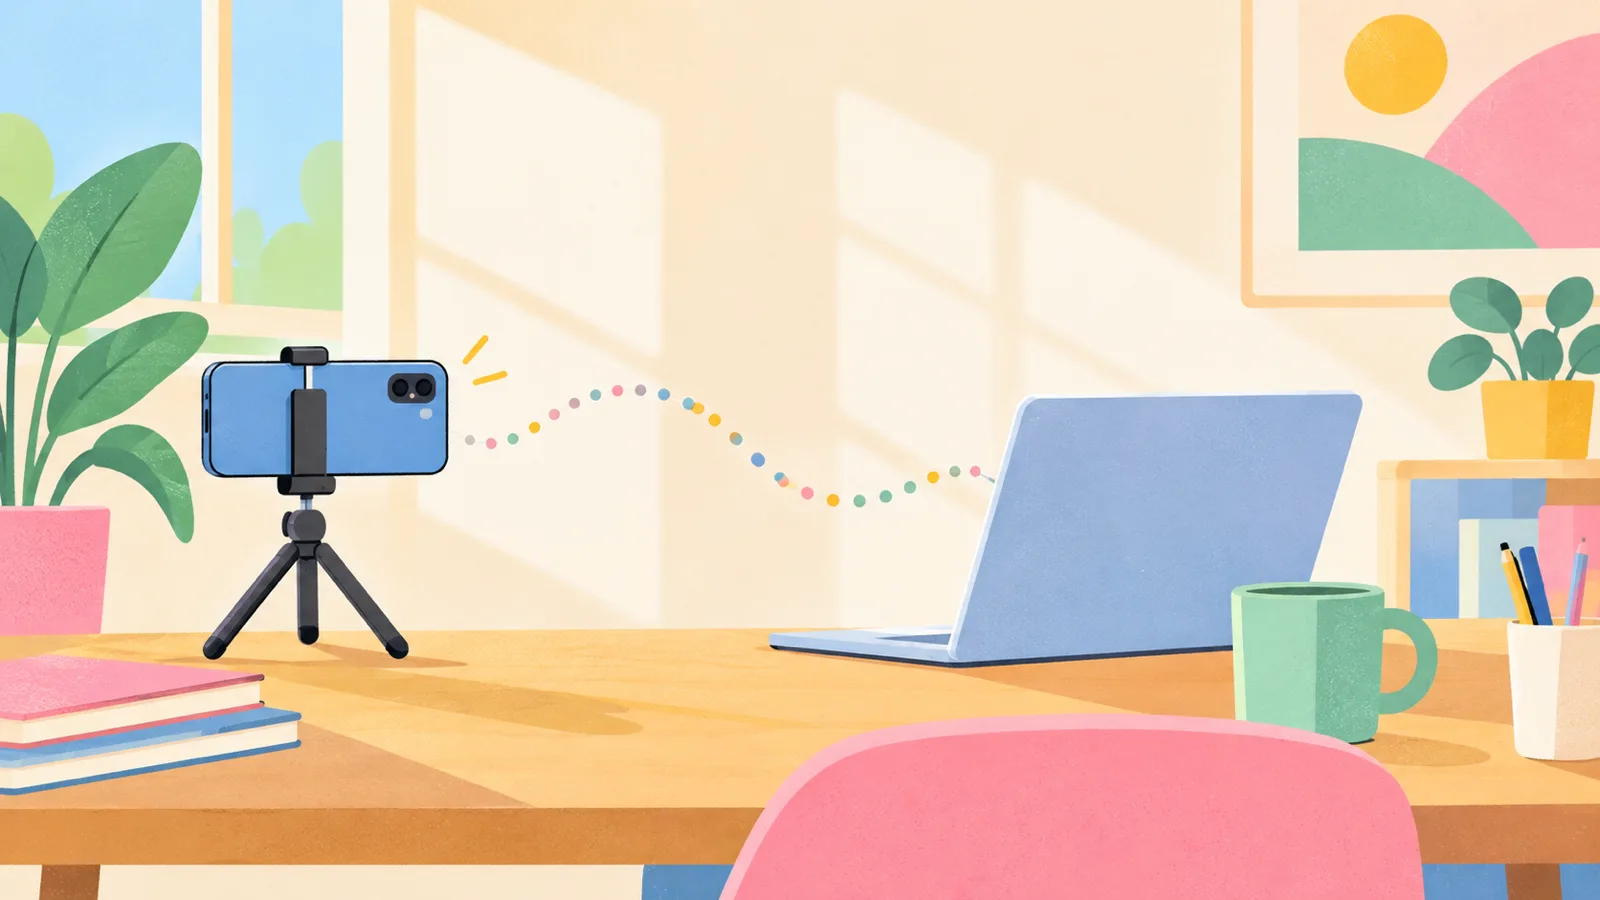
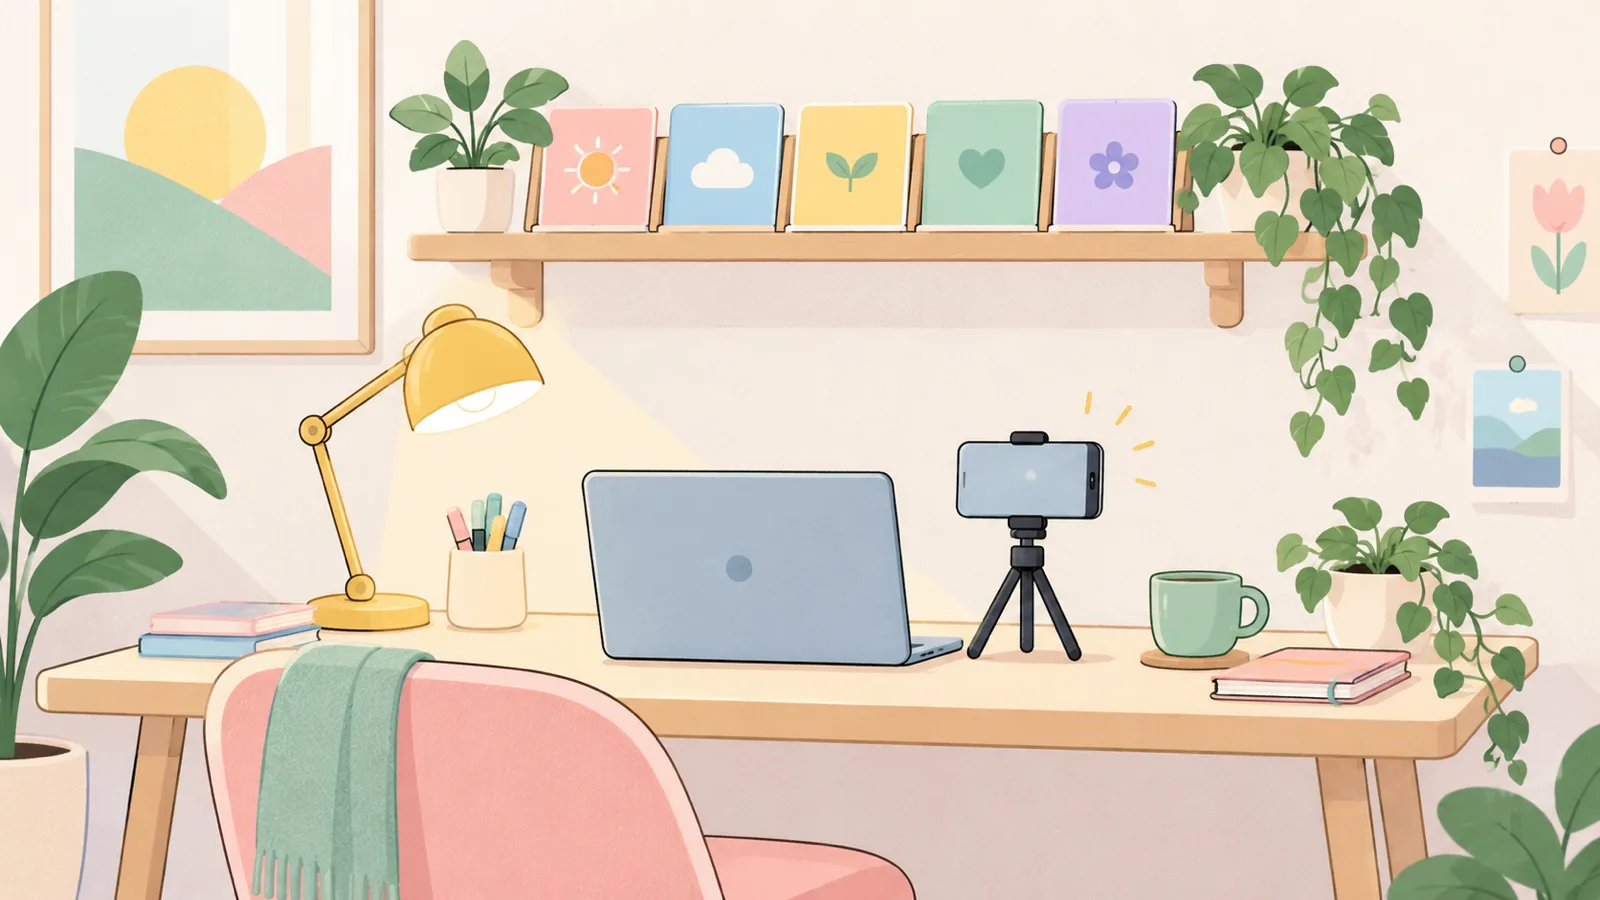
- Camera at eye level. A phone on a small tripod behind the laptop works well. Use your iPhone as a webcam shows two ways to connect one to a Mac.
- Light in front of you. A window you face, or one lamp. Film at the same time of day, or close the curtains and use the lamp only, so the light matches across days.
- A mic close to your mouth. A USB mic or a clip-on wireless kit. This is the single biggest quality jump.
- Mark everything. Tape on the floor for the tripod, on the desk for the laptop, on the wall for the lamp. Next week you will set up in two minutes.
- A quiet room with soft things in it. Curtains, a rug and a sofa cut echo more than you would think.
A gear list in priority order
Spend in this order, and stop when the budget runs out:
- A microphone. A USB mic or a clip-on wireless kit.
- A light. One small LED panel, or a window and the discipline to film at the same hour.
- A tripod with a phone clamp, so the camera never moves.
- A camera. The phone you already have is usually enough.
Skip: a mirrorless camera (later, maybe), a green screen, teleprompter hardware (a free on-screen prompter does the job), and acoustic foam (soft furnishings first).
A script for every lesson
You do not need to read every word. Write the opening word for word, so every lesson starts crisp, then bullets for the rest, which you talk around in your own words.
Vidlark reads scripts as plain text files, one per lesson:
# Lesson 3: Pricing your first product
Target: 8 min

## Hook
By the end of this lesson you will have a price you can defend.

## The three numbers
- What it costs you
- What competitors charge
- What the customer saves- The
#line is the lesson's title. Vidlark names the take's folder after it, so files arrive already labelled. Target:is the length you aim for. During the take, the timer shows your time against it ("of 8:00"), and the prompter shows how long each section has.- Each
##section becomes a chapter.
About Vidlark: it is free and open source, with no account, no watermark and no time limit. On a Mac you build it once with Xcode and a free Apple Development certificate, as there is no download button yet; it needs Apple silicon and macOS 15 or later (on an Intel Mac, free Mac screen recorders with no watermark lists what runs on one). The install guide has every step. The Windows 11 beta does not have scripts or the prompter yet.
Recording a batch in one sitting
Batching is the trick that makes courses finishable. Setup happens once, and you get into a rhythm.
- Drag all of today's scripts onto the Vidlark window at once. They become a list for the day, and the panel shows where you are, such as "Video 1 of 3".
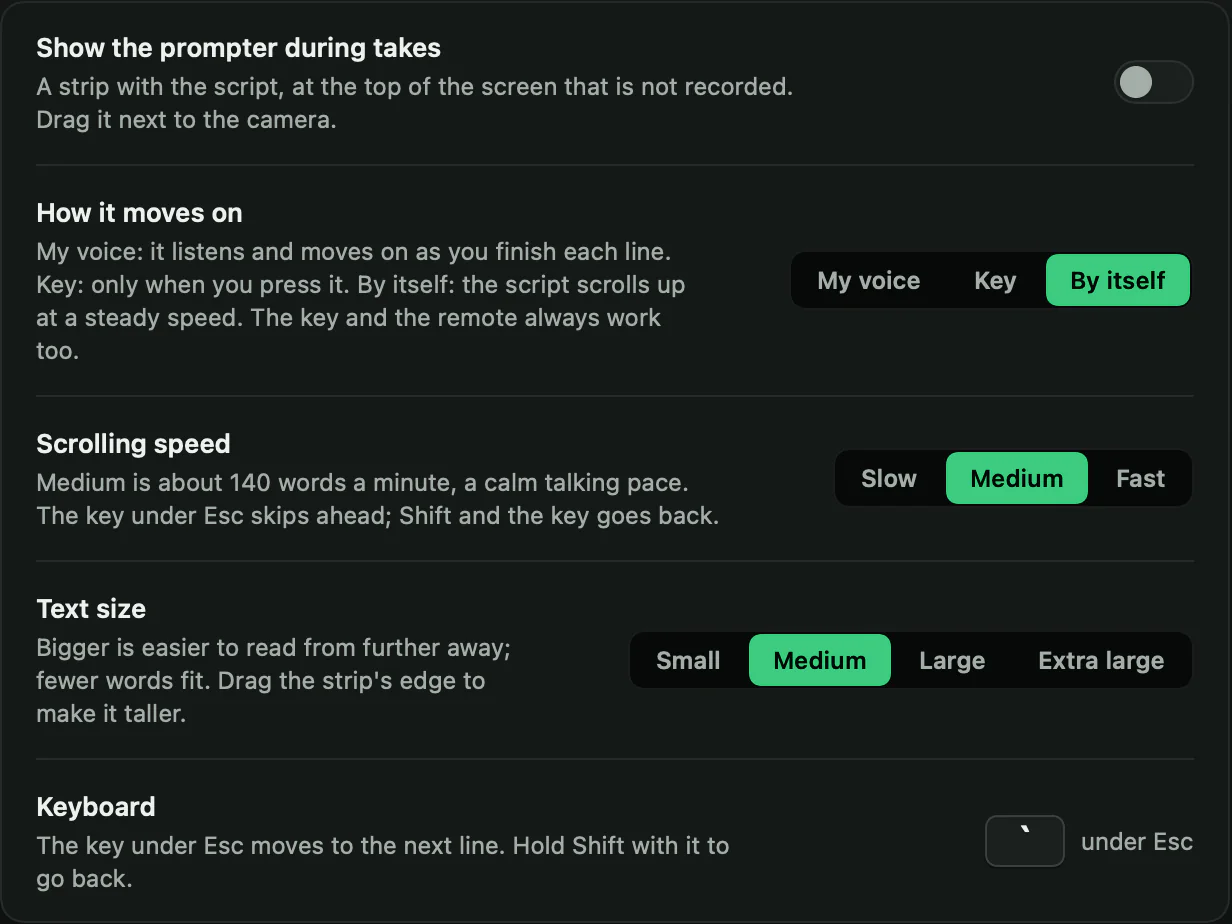
- Switch on the prompter: Settings, Prompter and remote, Show the prompter during takes. Pick My voice to have it follow you, Key to move it with the key under Esc, or By itself to scroll at a steady speed.
- Press the red button and record the lesson. If you stumble, say "retake", pause, and say the line again. The take keeps going, and
retakes.jsonlists every retake's time so you can cut it later. - Press stop. Vidlark finishes the take: it lines up the files by sound, makes the finished video and writes the transcript and chapters.
- Press Next video. It loads the next script you have not filmed yet. Take a sip of water and go again.
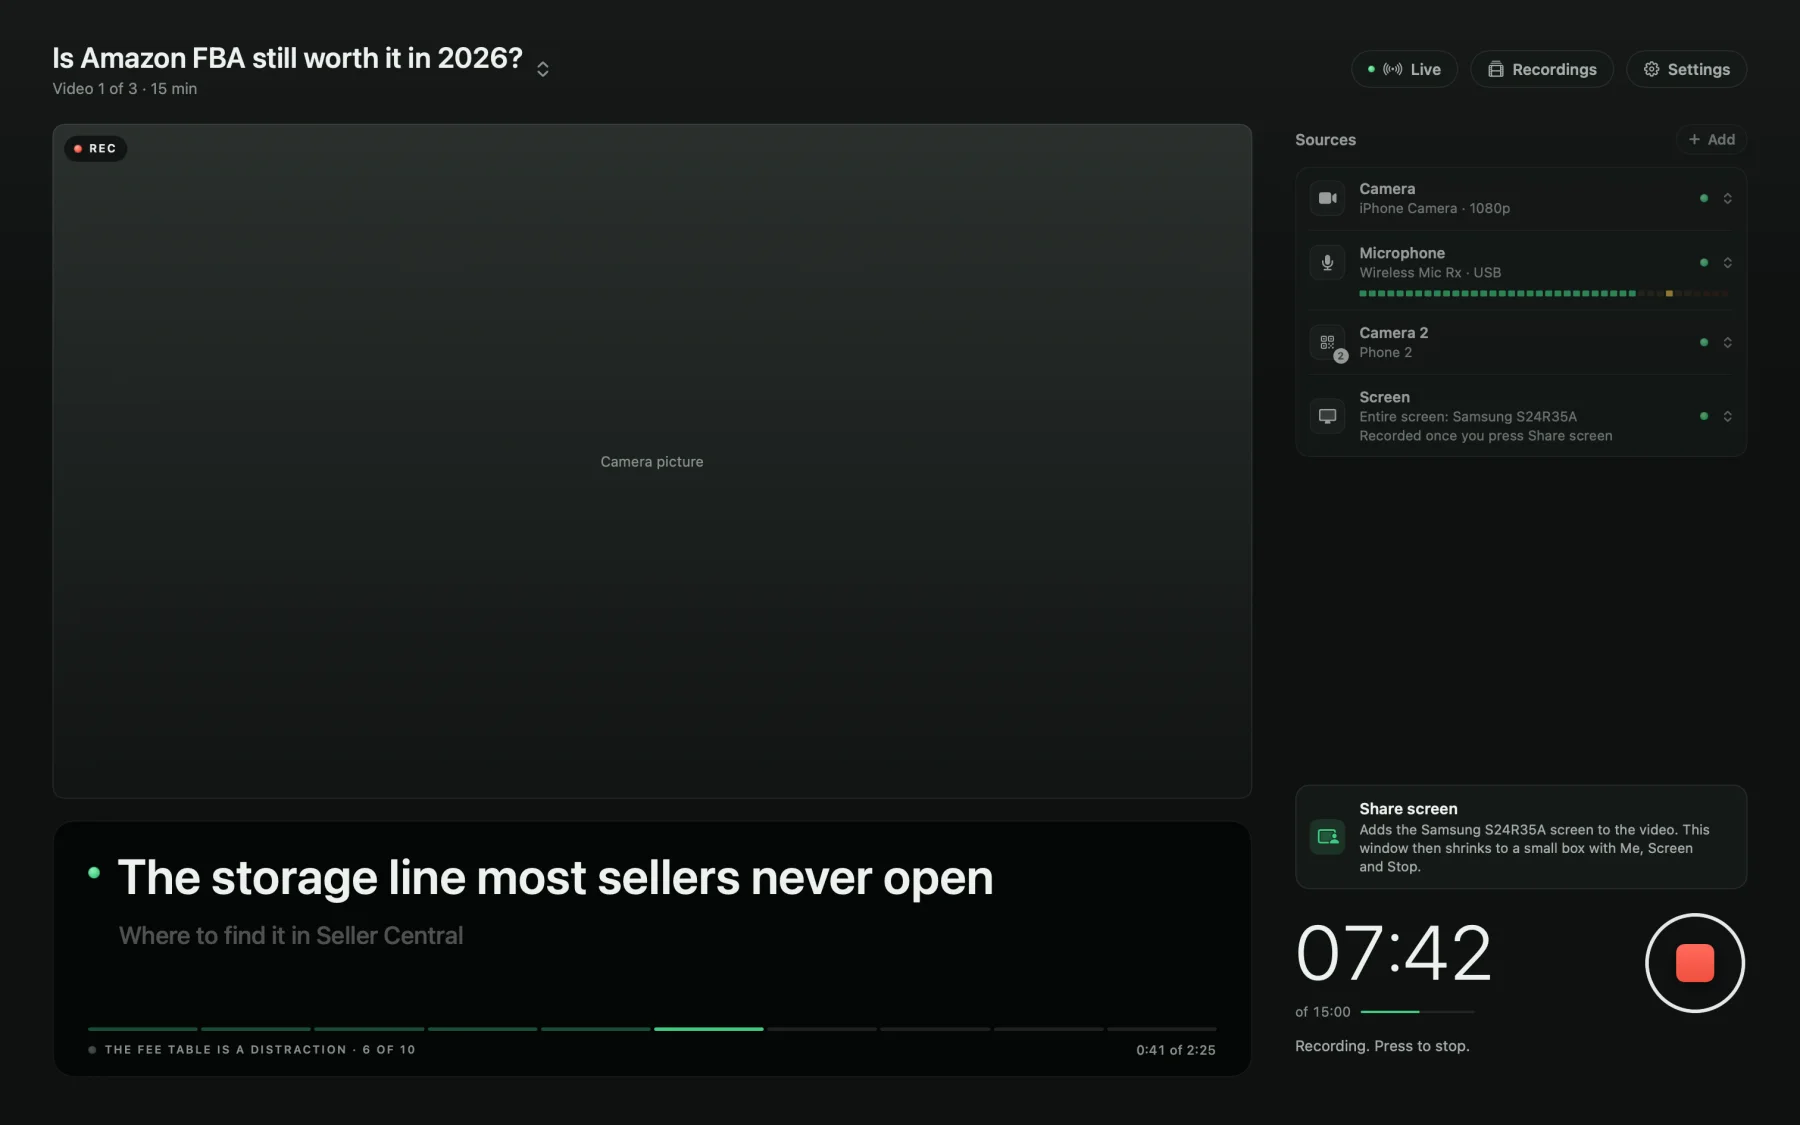
If a lesson goes badly, just press the red button again. Each take gets its own numbered folder (recording-1, recording-2), so nothing is ever replaced.
Talking head, screen, or both, per lesson
Every Vidlark take starts on your camera, so you choose the lesson type as you go:
- Talking head: never share the screen. The camera file,
camera.mov, is the lesson. - Screen lesson: press Share screen after a short intro and pick Entire screen or A window. With A window, only that window is recorded, even if something covers it.
- Both: switch with Me and Screen in the recording box. The finished
video.mp4follows your clicks, so there is nothing to cut. You can also put your face in a corner of the screen as a circle, square, oval or wide shape (Settings, In the video).
The camera and screen are always saved as separate files too, if you later want a different layout in an editor. How to record yourself and your screen on a Mac explains the options in more detail.
Files, names and chapters for your course platform
Every take lands in /Users/Shared/Vidlark Recordings/<date> <lesson title>/recording-1/. The files that matter for a course:
video.mp4(orcamera.movfor a talking-head lesson): the lesson to upload.chapters.txt: chapter times from your##sections, handy for a lesson's notes. It stays empty if a take has fewer than three chapters of at least 10 seconds.words.json: the transcript with the time of every word, made on your Mac. It is not a caption file: platforms want SRT, so use the platform's own captions or convert it.
Plan the disk space. In Vidlark, a 15 minute take needs about 3 GB for the camera and screen files, plus about 0.5 GB for video.mp4. That is roughly 0.2 GB per minute recorded, plus a little for the finished video.
| Batch | Recorded | Camera and screen files | Finished videos | Total, roughly |
|---|---|---|---|---|
| 4 lessons of 10 minutes | 40 min | 8 GB | 1.3 GB | 9 GB |
| 8 lessons of 10 minutes | 80 min | 16 GB | 2.7 GB | 19 GB |
| 6 lessons of 15 minutes | 90 min | 18 GB | 3 GB | 21 GB |
Retakes add to this. Settings, This Mac, shows your free space, and the Recordings page lets you delete failed takes to the Trash.
Upload formats for course platforms
From each platform's own help pages, checked on 9 October 2026:
| Platform | Largest file | Format notes | Captions |
|---|---|---|---|
| Teachable | 20 GB (2 GB recommended) | MP4, MOV or AVI; 1080p, 24 to 30 fps recommended | SRT or VTT |
| Thinkific | Under 3 GB | MP4 recommended; H.264 video required; 5,000 to 8,000 kbps | SRT |
| Kajabi | 4 GB | MP4 recommended; up to 1080p at 5,000 to 10,000 kbps | SRT |
| Udemy | Under 4.0 GB | MP4 recommended; at least 720p, horizontal 16:9 | Not checked |
Two things to know before you upload a Vidlark lesson:
- Vidlark's files use HEVC (H.265), which keeps them small. Thinkific requires H.264, and the others recommend MP4 without promising HEVC. The free fix: open the file in QuickTime Player, choose File, Export As, 1080p, and pick Greater Compatibility (H.264). Or, since Vidlark's install already puts ffmpeg on your Mac, run
ffmpeg -i video.mp4 -c:v libx264 -crf 20 -c:a aac lesson.mp4in Terminal. video.mp4takes your screen's shape, up to 1920 pixels wide. A MacBook screen is a little taller than 16:9, so a screen lesson recorded on it is not exactly 16:9. For a platform that insists on 16:9, like Udemy, record screen lessons on a 16:9 external display, or fit the video to a 16:9 frame in an editor. Talking-head lessons from a 16:9 camera are already the right shape.
A sample day: eight lessons recorded
Here is a realistic plan for a batch day. Your times will vary, so treat it as a starting shape.
| Time | What happens |
|---|---|
| 9:00 | Set up on your tape marks. Test take of 30 seconds; play it back with headphones. |
| 9:15 | Lessons 1 and 2 (talking head). |
| 10:00 | Short break. Water, check the files opened fine. |
| 10:15 | Lessons 3 and 4 (screen, with Me and Screen). |
| 11:00 | Break. Check free disk space. |
| 11:15 | Lessons 5 and 6. |
| 12:00 | Lunch. Your voice needs it. |
| 13:00 | Lessons 7 and 8, then any retakes of earlier lessons. |
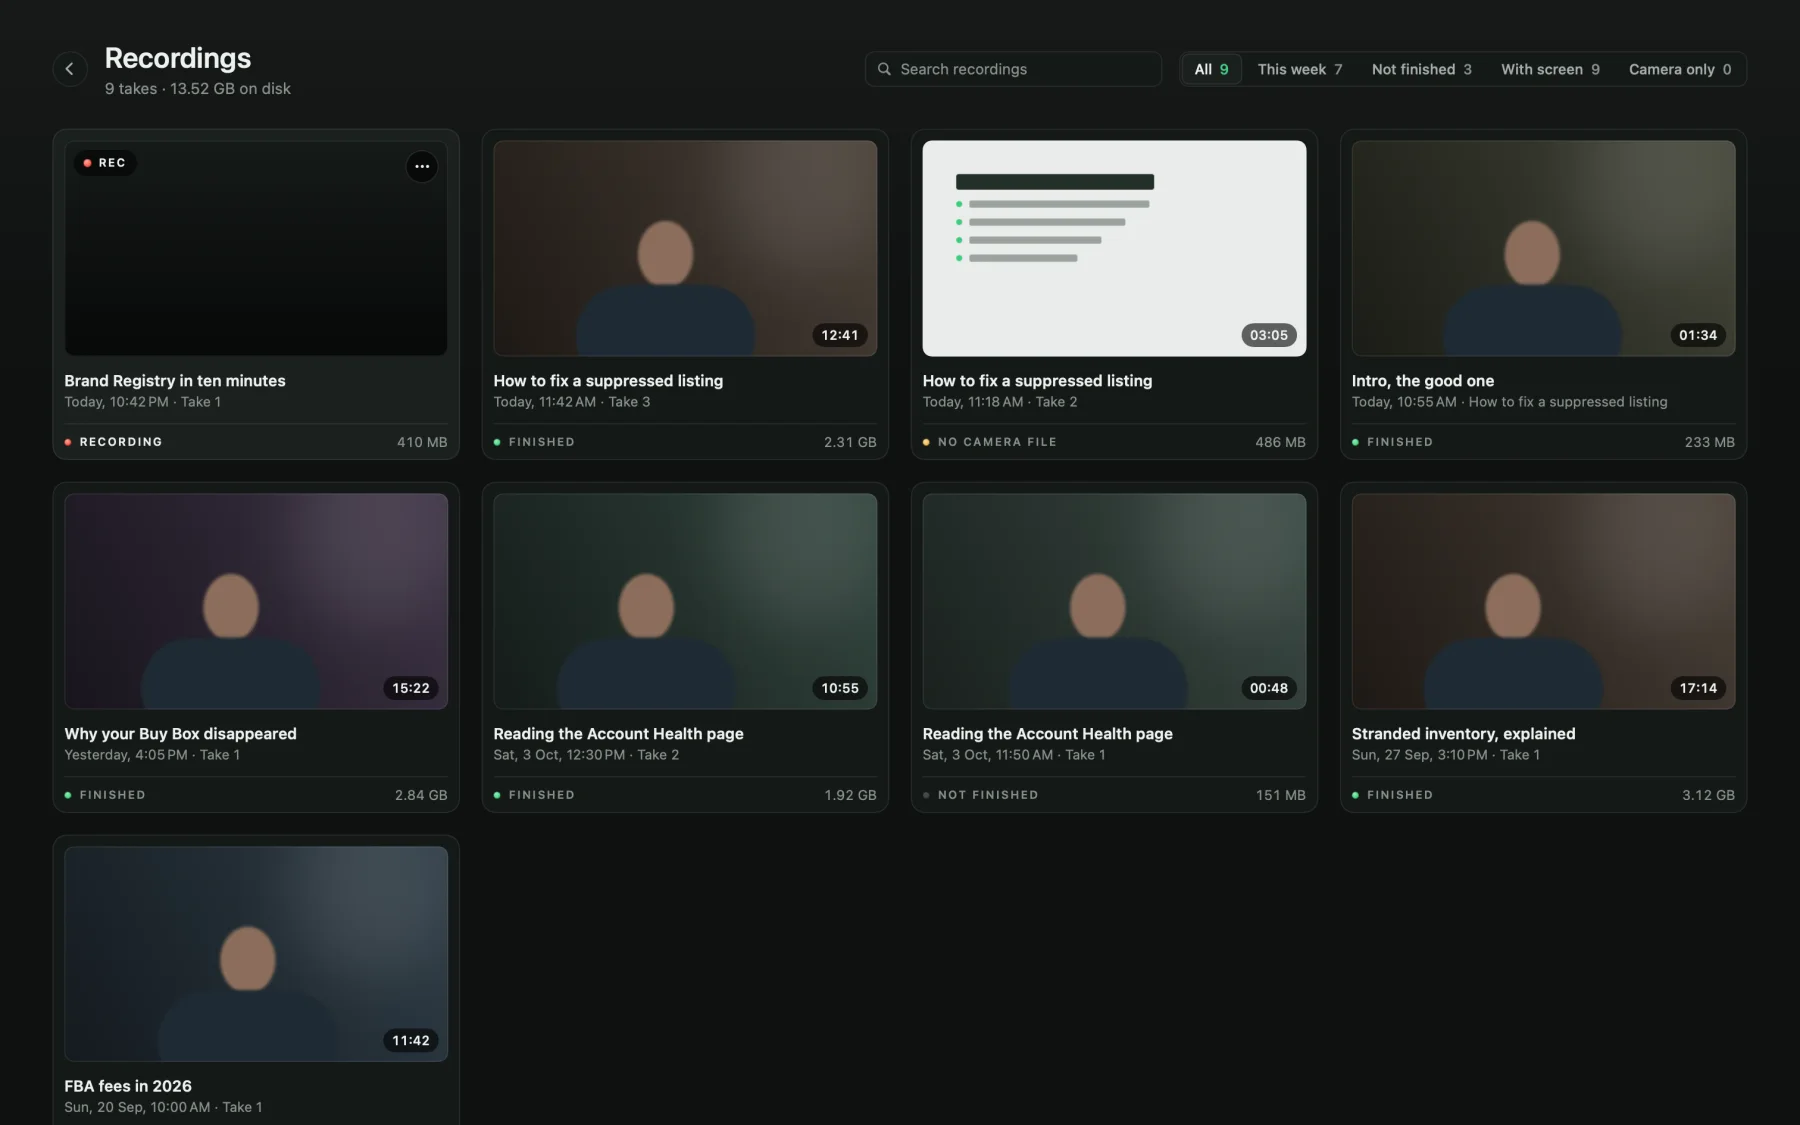
| 14:00 | Open the Recordings page, filter to This week, and delete the takes you will not use. |
What to do next
Write the lesson list for your course today, and script the first three lessons. Then record them in one sitting, even if the setup is not perfect yet.
Vidlark is free from the first take: the how-to guide shows the scripts and prompter step by step, and the code is on GitHub. For one video start to finish, including upload, see How to record a YouTube video on a Mac. Teachers on a budget may also want to know what Loom's free plan allows, since its free education plan is closed to new sign-ups. If you would rather skip Loom, Free Loom Alternatives With No Limit, No Catch compares the options.
Questions
What do I need to record online course videos at home?
A computer, a microphone close to your mouth, light in front of you, and a camera at eye level. Your phone is a good camera. A free recorder handles the rest.
How long should each course video be?
Short enough to cover one idea. Many creators aim for about 5 to 15 minutes per lesson, which is easier to film, easier to fix and easier for students to finish.
What video format do course platforms want?
MP4 at 1080p is the safe choice everywhere. Thinkific requires H.264 video and files under 3 GB, Kajabi accepts up to 4 GB, Udemy wants at least 720p in 16:9, and Teachable recommends files under 2 GB.
How much disk space does a day of recording need?
In Vidlark, about 3 GB for every 15 minutes recorded, plus about 0.5 GB for each 15 minutes of finished video. Eight 10 minute lessons need roughly 19 GB.